

AutoScientist App Walkthrough
Select training data, review AutoScientist's proposed model and recipe, launch training, and interpret the result in the Adaption app.
AutoScientist co-optimizes training data and the model-training recipe. It runs the training and evaluation loop for you, producing an adapted model rather than only an adapted dataset.
Before you start
Section titled “Before you start”Sign in at adaptionlabs.ai/app and open AutoScientist.
Select a dataset that has completed an Adaptive Data run. You can also select multiple datasets and consolidate them into a new dataset for training; consolidation changes the total row count and creates a new dataset on the dashboard.
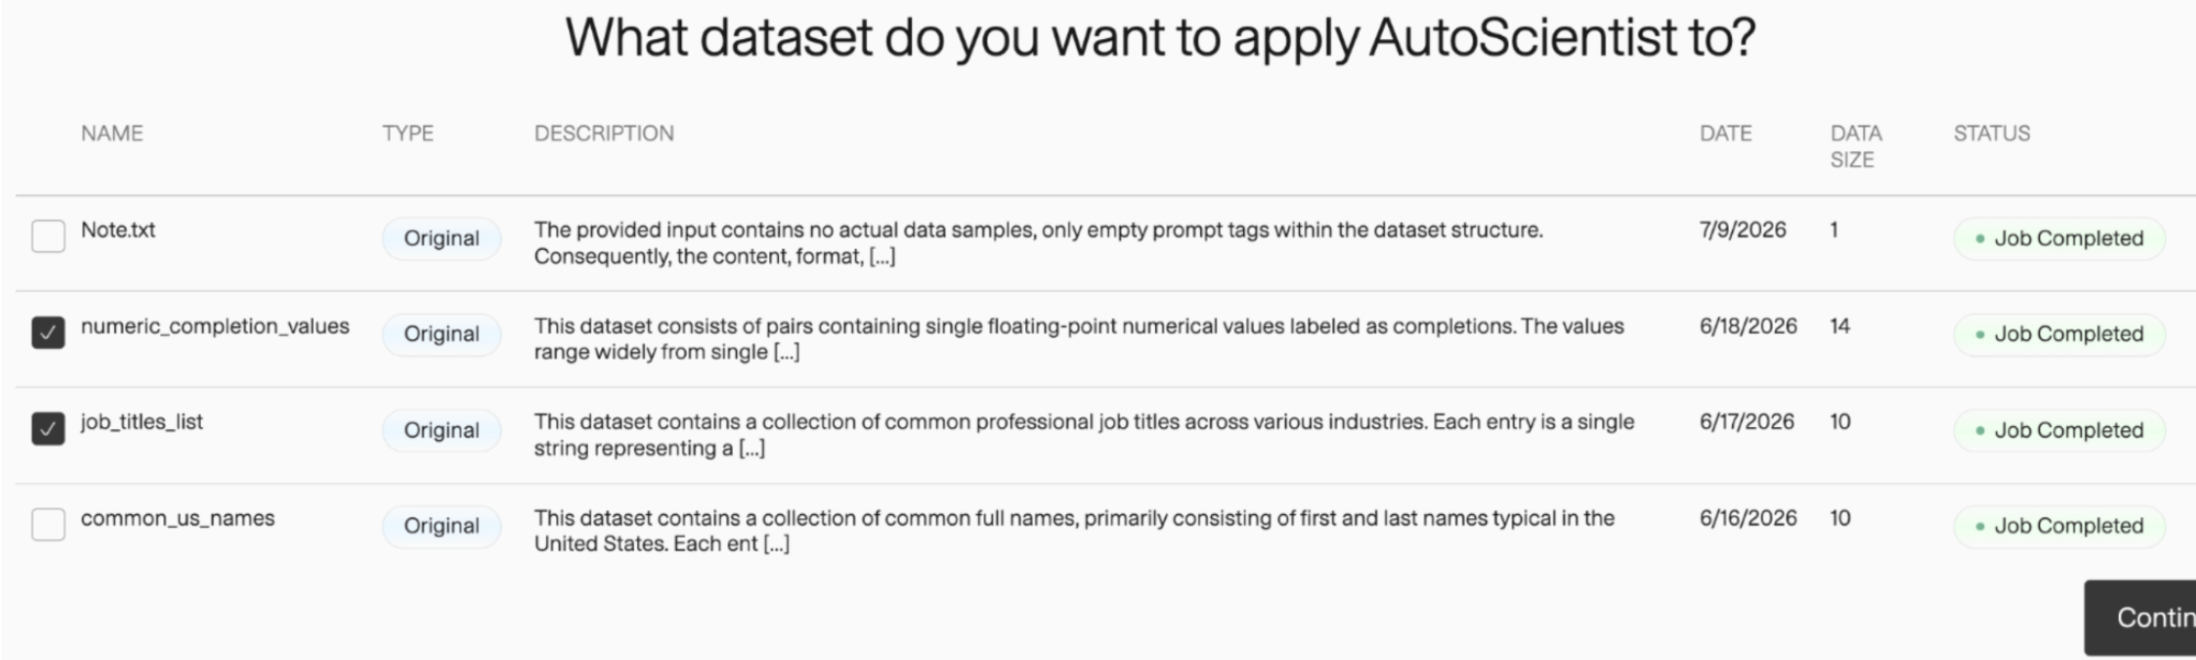
If you need to train on original rather than enhanced rows in the app, select the original columns during column mapping. As a separate programmatic alternative, raw dataset processing uploads training-ready prompt and completion columns directly to AutoScientist and skips the Adaptive Data pipeline.
Step 1 | Choose a model-size range
Section titled “Step 1 | Choose a model-size range”Tell AutoScientist whether your deployment has a model-size constraint.
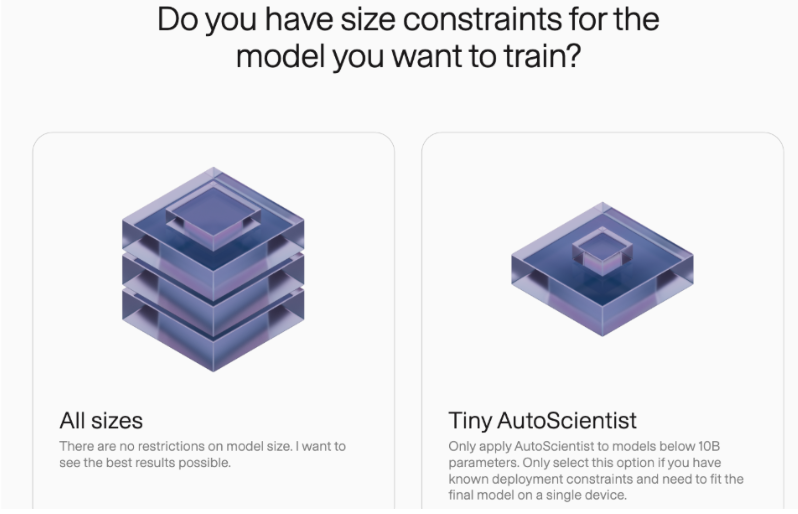
- All sizes allows AutoScientist to optimize for quality without a size restriction. Choose it when your serving infrastructure can support larger models.
- Tiny AutoScientist restricts training to models under 10B parameters. Choose it for on-device use, a limited inference budget, a single-device target, or lower latency.
Model size affects quality, serving cost, latency, and hardware requirements. Apply a known deployment constraint now rather than discovering after training that the model cannot run in its target environment.
Step 2 | Select training columns
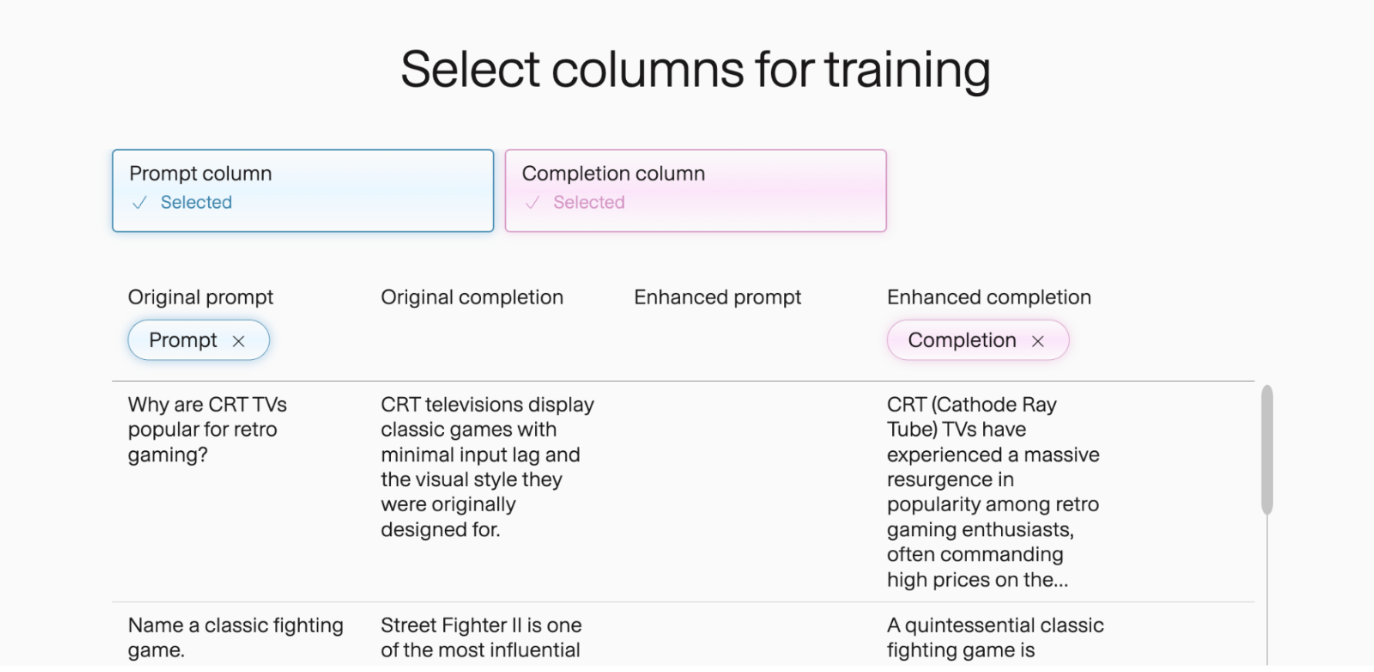
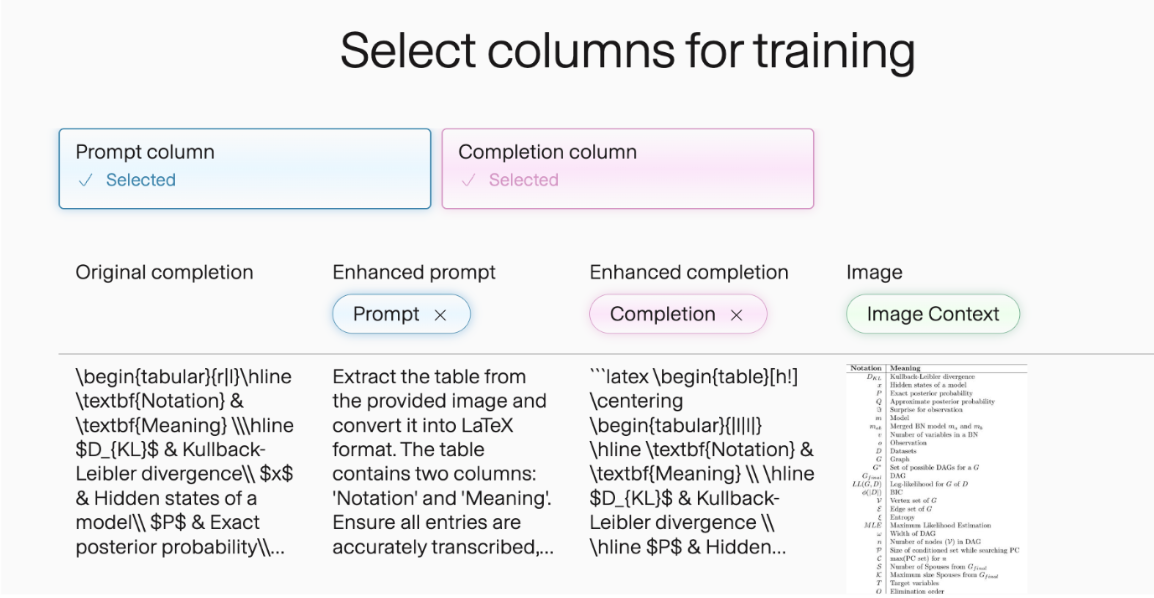
Section titled “Step 2 | Select training columns”Choose the Prompt and Completion columns used for training. The preview compares original and enhanced values, and you can choose either version.
For a visual-language-model dataset, the app also displays the Image Context column. That mapping cannot be edited. Multimodal AutoScientist jobs require more than 1,000 rows.
Enable reasoning only if the dataset has an appropriate reasoning column and you need reasoning fine-tuning. This narrows the set of eligible models because only some models support it.
Step 3 | Configure augmentation
Section titled “Step 3 | Configure augmentation”AutoScientist evaluates the selected data and may offer two independent, optional augmentation expansions:
- Domain dataset expansion appears when the dataset has fewer than 20,000 datapoints. Move the slider to choose a target size; the app updates the required credits and resulting row count.
- Diversity dataset expansion appears when the data is not diverse enough. Its slider adds general-purpose datapoints and also updates cost and size live.
Treat these as separate decisions. For example, a 12,000-row legal dataset might benefit from domain expansion without general-purpose expansion if its coverage is narrow but its examples are already varied.
Step 4 | Review the training recipe
Section titled “Step 4 | Review the training recipe”AutoScientist proposes a complete training recipe. Every field remains editable before confirmation:
- Algorithm: LoRA or full fine-tuning.
- Epochs: the number of passes through the training dataset.
- LoRA rank (
r): adapter capacity; higher ranks use more memory and compute. - Alpha: scales the LoRA adapter’s contribution to the base model.
- Model name: the base model to fine-tune.
- Target layers: modules such as
q_proj,v_proj, or all linear layers that receive LoRA adapters. - Optimizer and schedule: controls parameter updates and how the learning rate changes. A linear schedule decays steadily; a cosine schedule slows the decay near the end.
- Warmup ratio: the fraction of training steps used to raise the learning rate gradually from zero.
- Gradient clipping: caps gradient magnitude to reduce unstable updates.
Review the model and algorithm first because they determine which other settings are valid. Keep the proposed values unless you have a reason to override them.
Step 5 | Confirm and launch training
Section titled “Step 5 | Confirm and launch training”On Confirm your optimization choices, inspect the raw JSON representation of the exact configuration. Use Copy to save it or Edit to return to the configuration.
The final order summary separates the cost of:
- Domain dataset expansion.
- Diversity dataset expansion.
- AutoScientist training.
Confirm the order, then track the run and its status from the AutoScientist section of the dashboard.
Step 6 | Interpret the results
Section titled “Step 6 | Interpret the results”When the run completes, interpret the results on the page showing the trained model ID and:
- Weights export for downloading the trained model.
- AutoScientist Config for reviewing the configuration that produced it.
- Training Winrates for comparing the adapted model with its base model.
- Train/Eval Metrics for diagnosing training over time.
Training win rate
Section titled “Training win rate”The win-rate chart reports head-to-head evaluation results. For example, an adapted-model score of 70 means it won approximately 70% of comparisons against the original base model on the evaluation data.
Training loss measures prediction error on training data; validation loss measures error on held-out data. Read them together to judge whether the model is learning patterns that generalize or merely overfitting.
Learning rate
Section titled “Learning rate”The learning-rate chart shows the update step size over training steps. Its shape reflects the selected schedule and warmup.
Gradient norm
Section titled “Gradient norm”Gradient norm measures the magnitude of weight-update gradients. Sudden spikes can indicate instability, while a stable or flattening curve can indicate that optimization has settled.
Common issues
Section titled “Common issues”- Flat or negative win rate: use at least a 7–8B model, consider more epochs, and review whether augmentation toward 20,000 datapoints is appropriate.
- Need to publish on Hugging Face: download the model, create a blank Hugging Face repository, and upload the files through its web UI.
- Unclear whether a job is queued or stuck: check the AutoScientist tab for status and the Measure tab for metrics. If it remains unchanged well beyond the expected duration, contact support.
- Need to train on original rows: select the original prompt and completion columns instead of the enhanced versions.
Next steps
Section titled “Next steps”- Automate an AutoScientist run
- Download the trained model
- Review recommended hyperparameters
- Browse the current request and response schema in the API reference.